Effortlessly Integrate Professional Mind Mapping into Your Web Projects - Mind Elixir
/ 10 min read
In our information-rich era, we’re constantly dealing with vast amounts of complex data and ideas. Traditional linear note-taking often fails to capture the dynamic nature and interconnections of our thoughts, while mind maps serve as an intuitive note-taking tool that helps us better organize ideas, structure knowledge, and spark creativity—all while being more user-friendly than whiteboards or drawing software.
Whether you’re building knowledge management platforms, educational websites, or collaboration tools, integrating mind mapping functionality can significantly enhance user experience, making complex information display and interaction more intuitive and efficient.
If you want to add mind mapping capabilities to your web projects, Mind Elixir makes it possible to integrate professional-grade mind mapping with just a few lines of code. For instance, in a personal blog, you can use mind maps to visualize article knowledge structures or create interactive study notes—features that not only make content more engaging but also significantly boost your blog’s professional appeal.
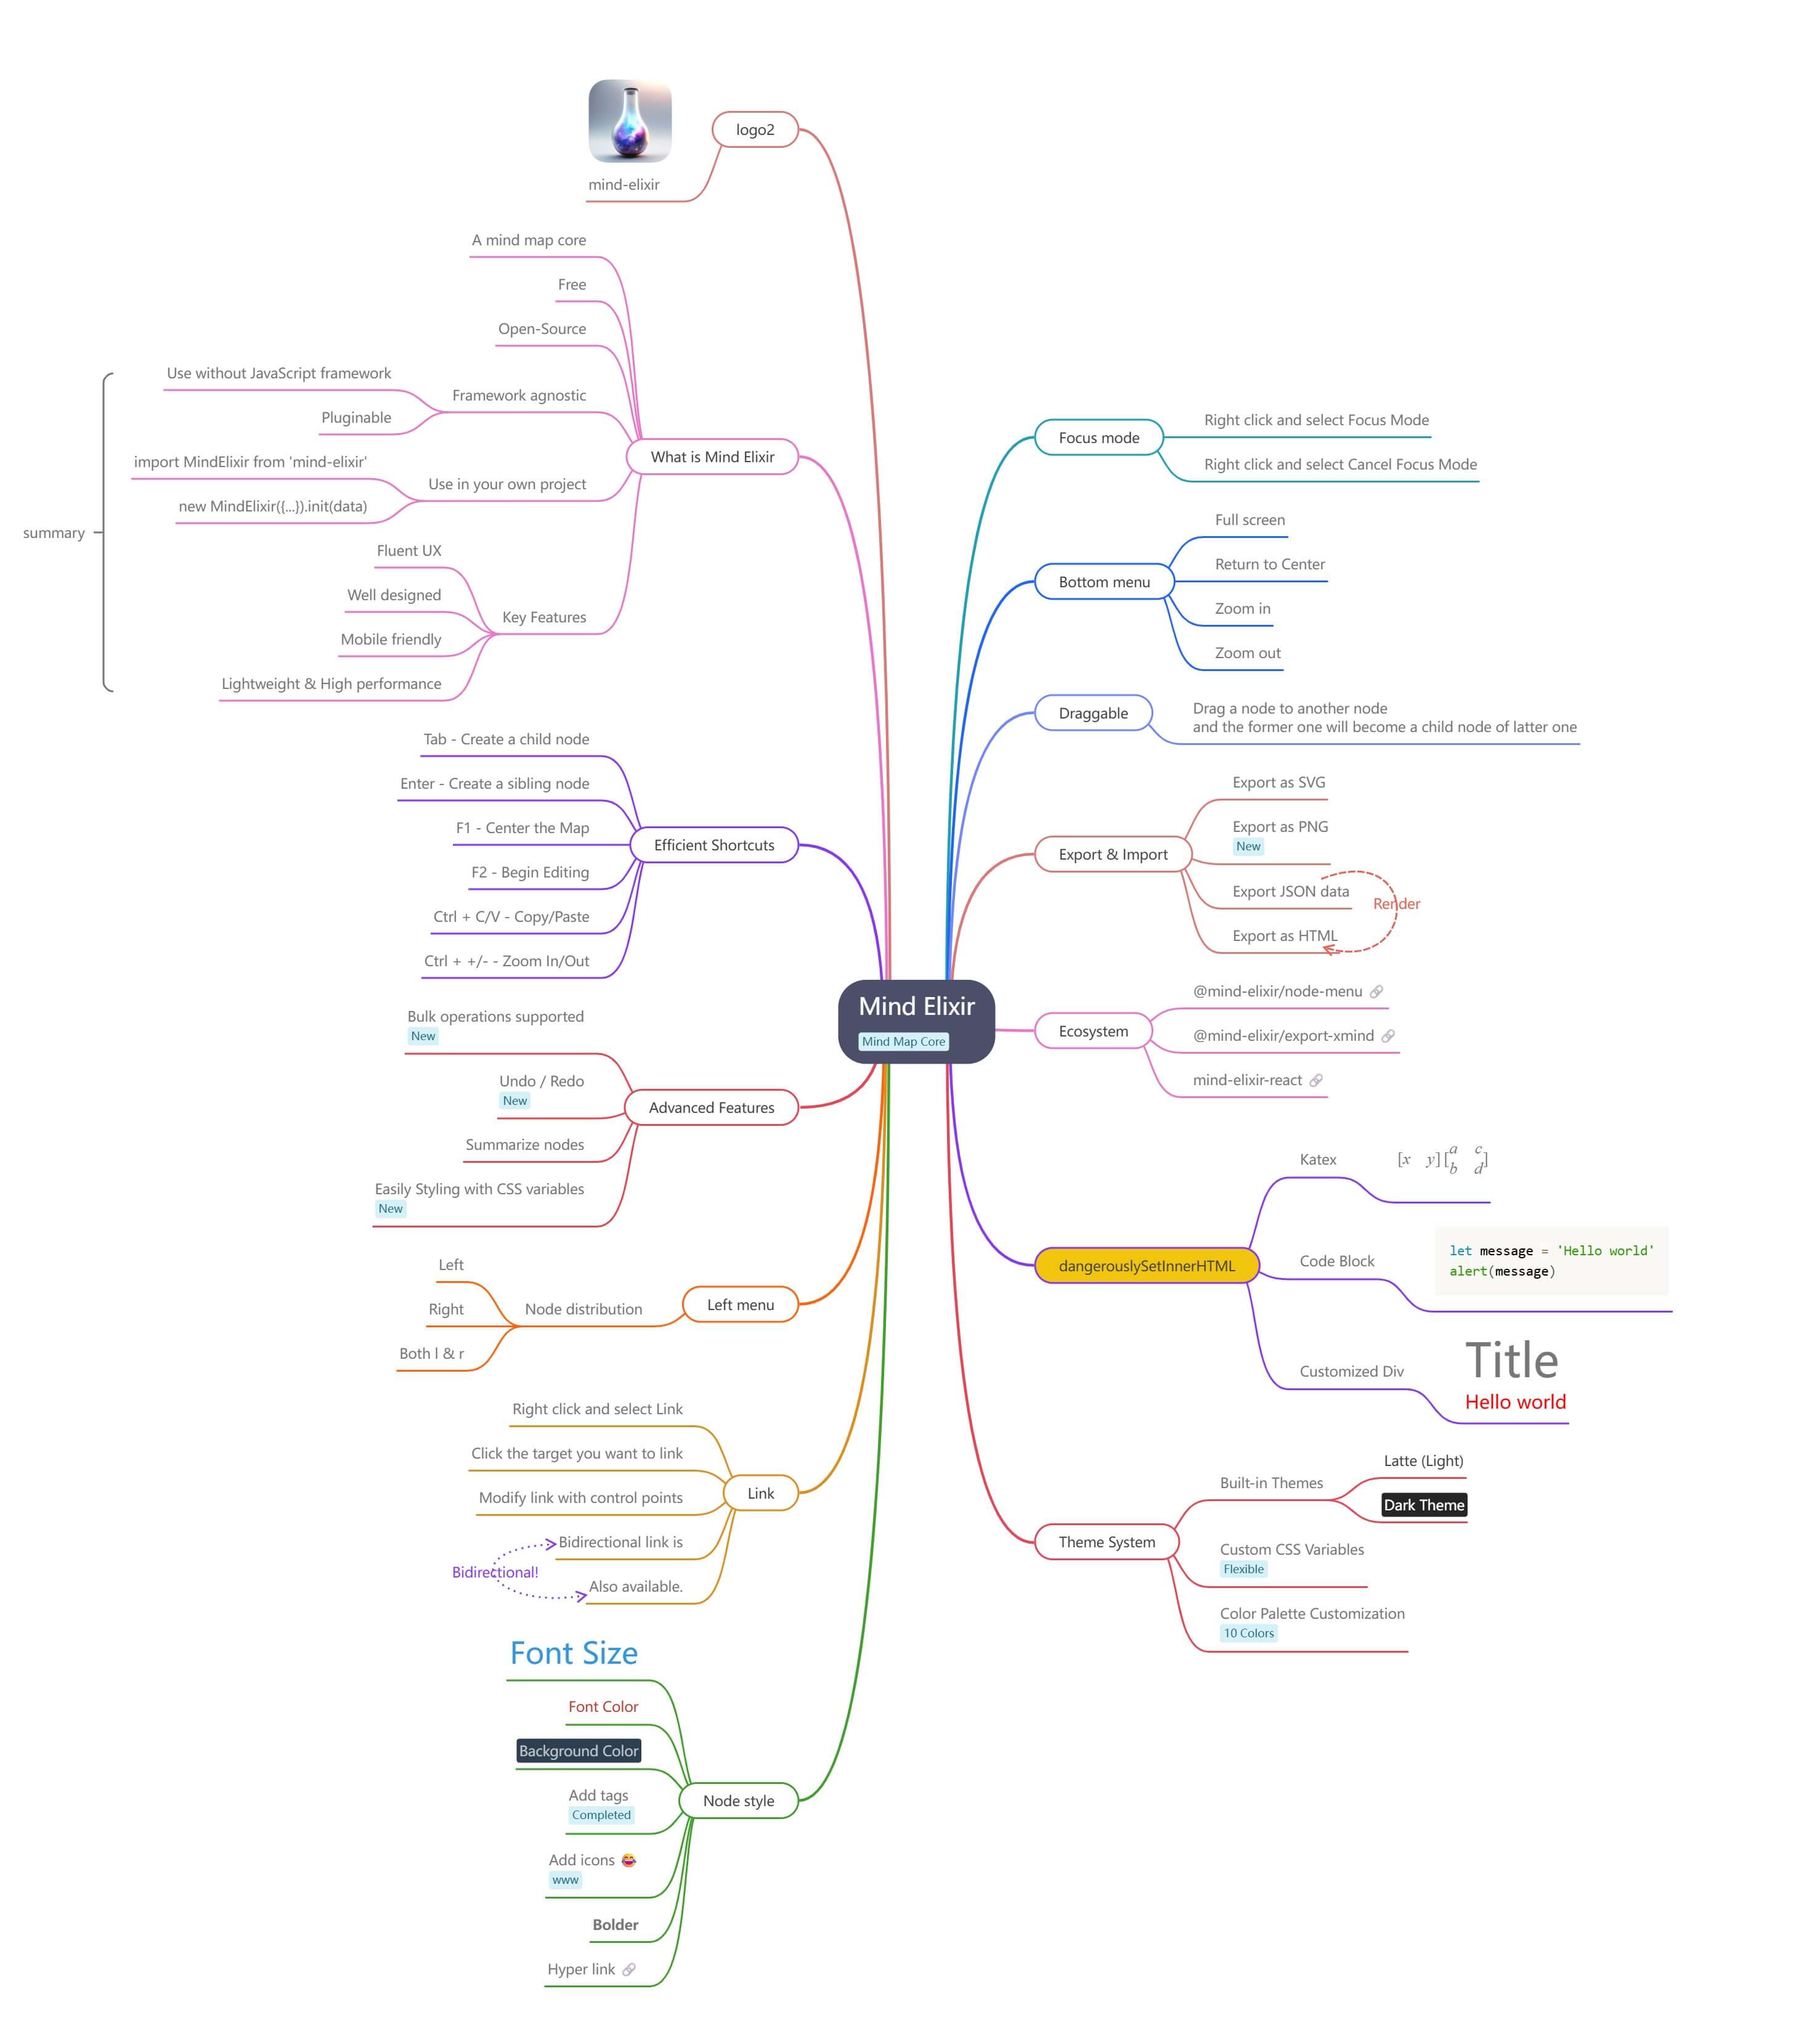
The open-source JavaScript mind mapping core Mind Elixir offers these key features:
- Smooth User Experience Fluid interactions with natural feedback, including mobile support.
- Lightweight & High Performance Small footprint with fast loading and rendering, maintaining high frame rates even with complex diagrams.
- Framework Agnostic Easy integration with React, Vue, Svelte, or vanilla projects—works standalone or embedded.
- Plugin Architecture Flexible plugin system supporting official extensions and custom plugins for modular functionality.
- PNG / HTML Export Support Export mind maps as images or HTML pages for easy sharing and embedding.
- Node Summaries & Connections Support for node summaries, connection lines, tags, and various node styles to meet different needs.
- Undo / Redo Support Complete operation history stack—any modification can be quickly reverted or redone with confidence.
- Efficient Keyboard Shortcuts Rich keyboard shortcuts to boost productivity for power users.
- CSS Variable Customization Easy control of node styles and overall themes through CSS variables for highly customized, beautiful layouts.
Let’s dive into how you can quickly integrate Mind Elixir into your projects! 🤗
Super Simple Integration
Install the dependency:
npm i mind-elixir -SImport Mind Elixir:
import MindElixir from "mind-elixir";import "mind-elixir/style"; // Versions 5.0+ require explicit style importAlternatively, you can include it directly via script tag:
<script type="module" src="https://cdn.jsdelivr.net/npm/mind-elixir/dist/MindElixir.js"></script>Before initialization, we need to style your target mount element. Specifically, you need to give it explicit width and height dimensions, paying special attention to height. Any frontend developer who’s wrestled with CSS knows that 100% height can be tricky to handle. Let’s use a 500px tall div as an example.
<div id="map"></div><style> #map { height: 500px; width: 100%; }</style>Next comes the actual initialization. If you don’t need other initialization options, just pass in the mount element!
import MindElixir from "mind-elixir";import "mind-elixir/style";
let options = {  el: "#map", // or HTMLDivElement};
let mei = new MindElixir(options);const data = MindElixir.new("new topic");mei.init(data);
That’s it—you’ve completed the most basic integration!
TIP
Try it on CodePen: https://codepen.io/ssshooter/pen/vEOqWjE
Event Listening
Once you’ve integrated mind mapping into your project, the most common requirement is event listening. You’ll need to monitor various node operations and respond to user actions. For example, when a user creates a new node, you’ll want to save it promptly.
Mind Elixir uses a bus to dispatch events—this term comes from the “event bus” concept, where all events are dispatched through this central “bus.” Usage is similar to the browser’s addEventListener; as long as you have access to the bus, you can listen for events anywhere.
As of the latest Mind Elixir 5.0, the following events are available:
type EventMap = { operation: (info: Operation) => void; selectNode: (nodeObj: NodeObj, e?: MouseEvent) => void; selectNewNode: (nodeObj: NodeObj) => void; selectNodes: (nodeObj: NodeObj[]) => void; unselectNodes: (nodeObj: NodeObj[]) => void; expandNode: (nodeObj: NodeObj) => void; linkDiv: () => void; scale: (scale: number) => void; move: (data: { dx: number; dy: number }) => void; updateArrowDelta: (arrow: Arrow) => void; showContextMenu: (e: MouseEvent) => void;};Most node operation events are grouped under the operation event. Talk is cheap—add this to your project and try manipulating some nodes to see how it works:
mei.bus.addListener("operation", (operation) => { console.log(operation);});Sometimes event listening isn’t enough. If you need to ensure data is inserted into the database before displaying it, you’ll need operation interception. Add a before option to your options—this is an object where keys are the operations you want to intercept. If you need to intercept the addChild operation, you can write:
let mei = new MindElixir({ // ... before: { async addChild(el, obj) { try { await saveToDatabase(obj); return true; } catch (error) { console.error("Error adding child:", error); return false; } }, },});This way, the child node will only be added after saveToDatabase() runs successfully; if it fails, the insertion operation will be cancelled.
TIP
Try it on CodePen: https://codepen.io/ssshooter/pen/EajBbrM
Mind Map Redrawing
Besides using Mind Elixir core’s default behavior to update mind maps, you can also redraw mind maps by directly updating node data.
The complete node data structure is as follows:
export interface NodeObj { topic: string; id: Uid; style?: { fontSize?: string; color?: string; background?: string; fontWeight?: string; }; children?: NodeObj[]; tags?: string[]; icons?: string[]; hyperLink?: string; expanded?: boolean; direction?: Left | Right; image?: { url: string; width: number; height: number; fit?: "fill" | "contain" | "cover"; }; branchColor?: string; dangerouslySetInnerHTML?: string; note?: string;}By modifying node data, you can insert images, tags, hyperlinks, and other elements into nodes. For example, you can read the current mind map data from the Mind Elixir instance’s nodeData, modify it, and then call the refresh method to redraw the mind map.
const data = mind.nodeData;console.log(data);data.topic = data.topic + "new Data";mind.refresh();But what if you want to update the entire mind map with completely new data? That’s possible too! Pass data that conforms to the Mind Elixir format to the refresh method, and you can instantly update the entire map.
import data from "https://esm.sh/mind-elixir/dist/example.js";mind.refresh(data);TIP
Try it on CodePen: https://codepen.io/ssshooter/pen/vEOqpOX
Freedom to Redesign
Mind Elixir gives you the freedom to completely redesign your mind maps.
First, you can easily adjust the overall style of your mind map through theme and cssVar. The core comes with two built-in themes: MindElixir.DARK_THEME and MindElixir.THEME. If you need a custom theme, you can create an object following the theme format and pass it to Mind Elixir.
Here’s a complete Mind Elixir theme and how to use it:
const PROFESSIONAL_THEME = {  name: "Professional",  type: "light",  palette: ["#2c2c2c", "#404040", "#555555", "#6a6a6a", "#7f7f7f", "#949494", "#a9a9a9"],  cssVar: {    "--node-gap-x": "32px",    "--node-gap-y": "12px",    "--main-gap-x": "68px",    "--main-gap-y": "48px",    "--root-radius": "8px",    "--main-radius": "6px",    "--root-color": "#ffffff",    "--root-bgcolor": "#1a1a1a",    "--root-border-color": "#333333",    "--main-color": "#2c2c2c",    "--main-bgcolor": "#ffffff",    "--topic-padding": "4px",    "--color": "#4a4a4a",    "--bgcolor": "#fafafa",    "--selected": "#666666",    "--panel-color": "#2c2c2c",    "--panel-bgcolor": "#ffffff",    "--panel-border-color": "#e0e0e0",  },};
let mind = new MindElixir({  el: "#map",  theme: PROFESSIONAL_THEME,});
Note that data itself can also contain a theme, which will override the theme in options. This ensures each mind map can have its own independent theme. If you need a fixed theme, remember to set the data’s theme to undefined during initialization.
P.S. If you want to modify the theme after initialization, you can use the changeTheme method.
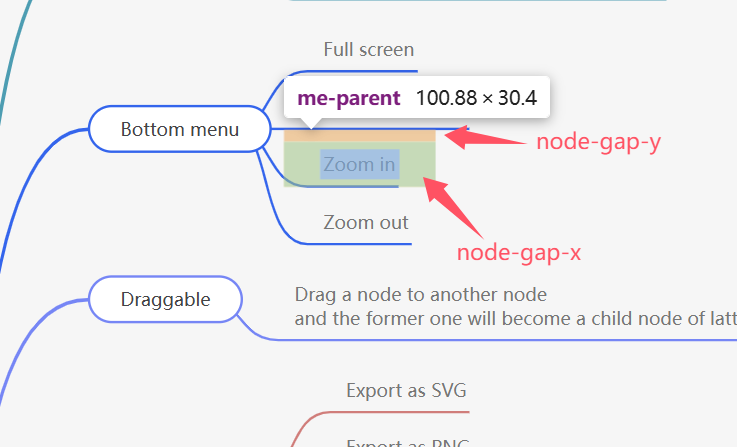
The commonly used main-gap in cssVar can adjust the spacing between main nodes:
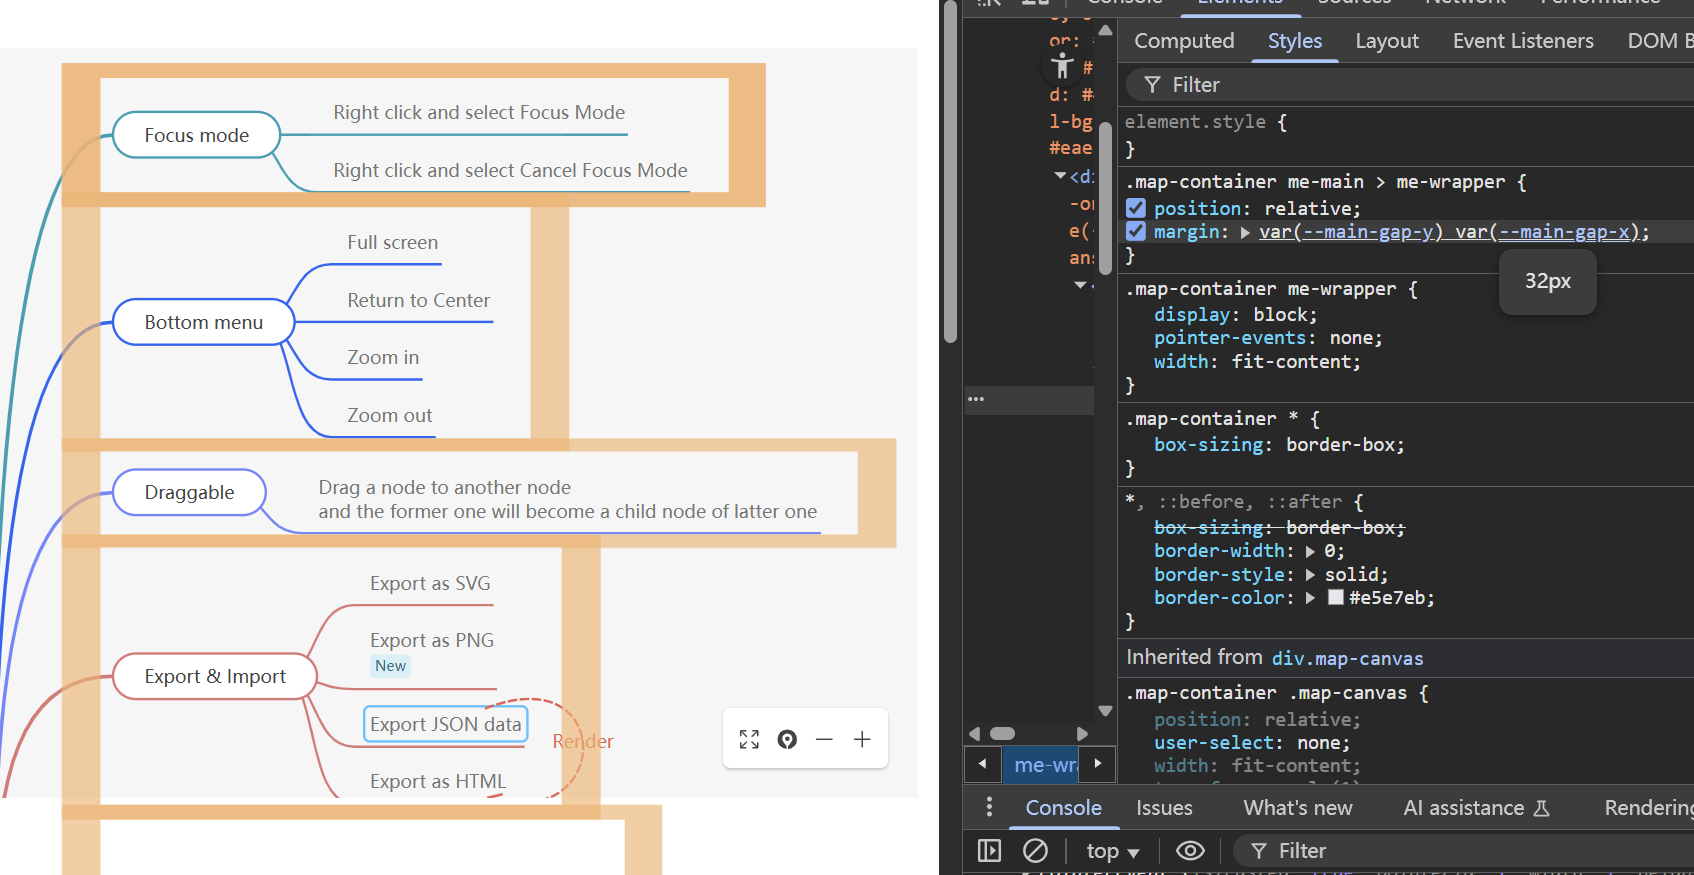
The node-gap can adjust the internal spacing of nodes:
TIP
Try it on CodePen: https://codepen.io/ssshooter/pen/azOgVKX
For other parameters that can’t be adjusted through CSS variables, you can fine-tune them directly through CSS overrides.
Going deeper, you can adjust connection line styles through generateMainBranch and generateSubBranch. (See the CodePen link below for examples)
After writing appropriate generateMainBranch and generateSubBranch functions, if you find the expand/collapse button positions are off, you can fine-tune them with CSS. The default styles are:
// Expand/collapse button styles for main nodes (direct children of root)me-main > me-wrapper > me-parent > me-epd { top: 50%; transform: translateY(-50%);}// Expand/collapse button styles for other child nodesme-epd { top: 100%; transform: translateY(-50%);}// Specific adjustments for left-side expand/collapse buttons.lhs { & > me-wrapper > me-parent > me-epd { left: -10px; } me-epd { left: 5px; }}// Specific adjustments for right-side expand/collapse buttons.rhs { & > me-wrapper > me-parent > me-epd { right: -10px; } me-epd { right: 5px; }}TIP
Try it on CodePen: https://codepen.io/ssshooter/pen/WNmZMmq
Node Styling
If you have customization needs for individual nodes beyond the overall style, nodes themselves can have style settings:
//...{ fontSize?: string color?: string background?: string fontWeight?: string}// ...If you have very strong customization needs for nodes and feel these style configurations aren’t nearly enough, no problem—we’ve got you covered!
You can get even more creative with dangerouslySetInnerHTML, for example:
const data = { nodeData: { id: "me-root", topic: "Mind Elixir", tags: ["Mind Map Core"], children: [ { topic: "Customized Div", id: "c00a2264f4532615", children: [ { topic: "", id: "c00a2264f4532614", dangerouslySetInnerHTML: '<div><style>.title{font-size:50px}</style><div class="title">Title</div><div style="color: red; font-size: 20px;">Hello world</div></div>', }, ], }, ], },};TIP
Try it on CodePen: https://codepen.io/ssshooter/pen/MYwMrjZ
Exporting Images
Thanks to modern-screenshot, which cleverly converts divs to images using SVG while preserving everything intact. Basically, as long as you haven’t done anything too crazy with dangerouslySetInnerHTML (like embedding videos), you can export images normally. @ssshooter/modern-screenshot adds an extra padding option to adjust screenshot margins.
import { domToPng } from "@ssshooter/modern-screenshot";
const download = async () => {  const dataUrl = await domToPng(mind.nodes, {    onCloneNode: (node) => {      const n = node as HTMLDivElement;      n.style.position = "";      n.style.top = "";      n.style.left = "";      n.style.bottom = "";      n.style.right = "";    },    padding: 300,    quality: 1,  });  const link = document.createElement("a");  link.download = "screenshot.png";  link.href = dataUrl;  link.click();};
You can use modern-screenshot directly or the recently released snapdom. If you encounter incomplete screenshots (mainly incomplete summaries and connection lines), you can adjust --map-padding in cssVar.
import { snapdom } from "@zumer/snapdom";
const dl2 = async () => {  const result = await snapdom(mind.nodes);  await result.download({ format: "jpg", filename: "my-capture" });};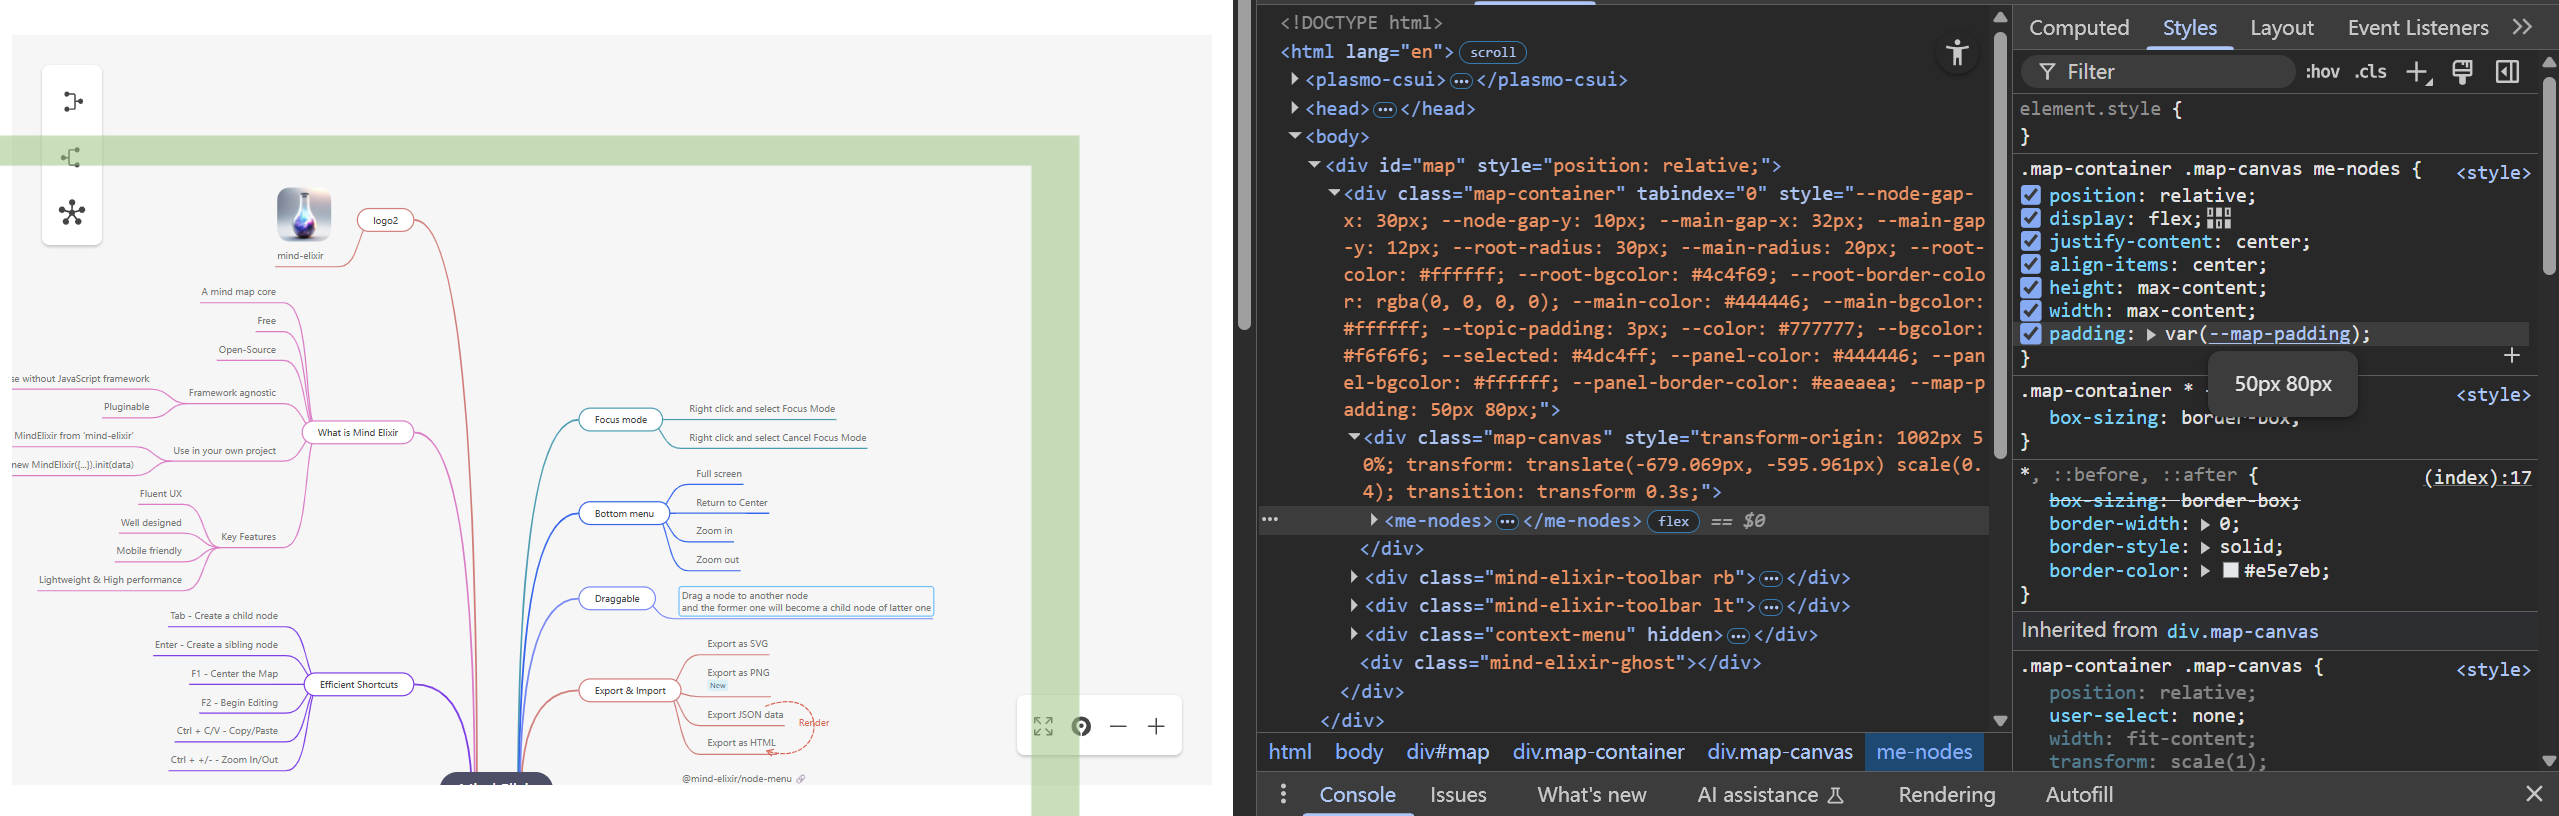
If you still get partial screenshots, it might be due to scale not being equal to 1. Try setting scale to 1 before taking the screenshot, then restore the original size afterward.
TIP
Try it on CodePen: https://codepen.io/ssshooter/pen/NPqZXXB
Using with Server-Side Rendering Frameworks
When using Mind Elixir in server-side rendering frameworks like Next.js, you’ll often encounter issues like window is not defined. This is because Mind Elixir heavily relies on various DOM operations and cannot work properly in SSR environments.
To solve this problem, you can use useEffect to load Mind Elixir during client-side rendering. Here’s a simple example:
"use client";import { useEffect } from "react";import { mindMapExample } from "./mapExample";
export const MindMap = ({ className }: { className: string }) => {  useEffect(() => {    import("mind-elixir").then((MindElixir) => {      const theme = MindElixir.default.DARK_THEME;      theme.cssVar["--bgcolor"] = "rgba(0,0,0,0)";      const mei = new MindElixir.default({        el: "#map",        direction: 2,        theme,      });      mei.init({        nodeData: mindMapExample,      });      mei.toCenter();      window.addEventListener("resize", () => {        mei.toCenter();      });    });  }, []);  return (    <div id="wrapper" className={className}>      <div        id="map"        className="pointer-events-none h-[50vh] w-screen"        onScroll={(e) => e.preventDefault()}      ></div>    </div>  );};
Other Mind Elixir Options
Mind Elixir has many other configurable options:
interface Options { // ... direction?: number; // Node layout direction: 0 left, 1 right, 2 both sides locale?: Locale; // Language selection contextMenu?: boolean | ContextMenuOption; // Enable right-click menu, can add options toolBar?: boolean; // Enable built-in toolbar keypress?: boolean | KeypressOptions; // Enable shortcuts, can add custom shortcuts mouseSelectionButton?: 0 | 2; // Drag button, default right-click drag before?: Before; // Operation interception mentioned above newTopicName?: string; // Default value for new nodes allowUndo?: boolean; // Enable undo/redo overflowHidden?: boolean; // Whether canvas can move, useful for mind map cards alignment?: Alignment; // When set to 'nodes', canvas centers on mind map; when 'root', centers on root node (default) scaleSensitivity?: number; // Zoom sensitivity for scroll wheel and menu draggable?: boolean; // Whether nodes can be dragged editable?: boolean; // Whether editable // ...}Conclusion
Through this guide, you should now have mastered Mind Elixir techniques from basic usage to advanced customization. If you encounter any issues during use, or have better ideas and suggestions, feel free to share in the comments or join the discussion on GitHub and submit PRs! Let’s make Mind Elixir even better together!