TyranoScript Tutorial Part 3: Modifying Launchers
/ 4 min read
This topic was last updated 2134 days ago, the information mentioned may be changed or developed.
📚 TyranoScript Tutorial
- 📍 TyranoScript Tutorial Part 3: Modifying Launchers
Previously, we talked about the official launcher tyranorider, which essentially opens the game by using NW.js to open index.html.
TyranoScript framework is quite straightforward. This framework basically does not rely on the functionality of the launcher (with very few uses of NW.js API). Almost all functions are included in js files, which means you can break free from the official launcher. In fact, this project can run on any program based on a modern browser engine (even directly on Chrome, although Chrome restricts ajax requests for local files, so some configuration is required).
However, there is an issue. The NW.js version used by the tyranorider launcher is very low, which means the built-in developer tools are quite outdated and significantly lag behind the functionality of the current Chrome developer tools.
So, can we replace this launcher?
Certainly, we can. I am using the more reliable Electron. The reason I chose Electron over the new version of NW.js is very trivial, simply because it has more stars and a better-looking official website 😂
Similar to NW.js, Electron is basically like a browser, but it provides some APIs for you to implement functionalities that a normal browser cannot do but are commonly used in native programs. You can pack your html files into it, and it becomes a desktop application.
However, one significant difference between Electron and a normal browser is that developers need to consciously distinguish between the main process and the rendering process. More advanced usage involves communication between the main process and the renderer. You can learn about Electron’s application architecture here.
Here’s a brief guide on how to build an Electron application from the official website:
First, install the dependencies from npm:
npm i -D electronIt is important to note that TyranoScript’s configuration conflicts with Electron, so you need to backup the original package.json before making any modifications. If you want to switch back to the official launcher, you will need to restore the original package.json.
Configure the main attribute and start command:
{ "name": "your-app", "version": "0.1.0", "main": "main.js", "scripts": { "start": "electron ." }}Once the environment is ready, the next step is to write the main.js file:
const { app, BrowserWindow } = require("electron");
function createWindow() {  // Create the browser window  let win = new BrowserWindow({    width: 800,    height: 600,    webPreferences: {      nodeIntegration: true,    },  });
  // Load the index.html file  win.loadFile("index.html");  // Open the developer tools  win.webContents.openDevTools();}
app.whenReady().then(createWindow);
Specify the TyranoScript project’s index.html in win.loadFile, and now running npm start should be able to open your game normally. More importantly, you will have the latest developer tools, significantly improving debugging efficiency! Plus, you can now use ES6 in TyranoScript!
Finally, on the topic of packaging, if you use new syntax or Electron API, you will encounter issues if you open or package using tyranorider. To solve this problem, I use electron-builder for packaging.
The usage is not difficult, simply install the dependencies, then expand the scripts configuration to use:
npm i -D electron-builder"scripts": { "start": "electron .", "pack": "electron-builder --dir", "dist": "electron-builder"}The difference between npm run pack and npm run dist is that pack only packages to the dist folder, which is more suitable for testing, while dist directly builds installation packages for various systems.
However, directly packaging in this way will cause errors because the code uses the require method to reference the fs-extra and jquery libraries, so you will need to download these two dependencies and then package them (I feel that this could be an area for optimization). So, it’s recommended to use pack to package it first to see if there are any errors before using dist.

As shown above, the result of the dist packaging is an exe file, which can be installed on your computer by double-clicking it. Meanwhile, the result of the pack packaging is a win-unpacked folder containing the following content:
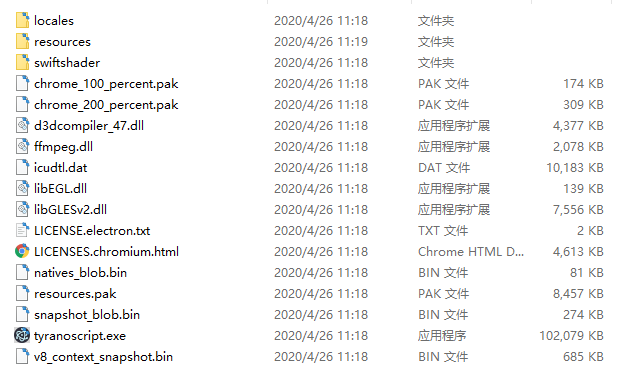
The packaged resources are contained in the resources folder. By default, electron-builder will package all resources into an app.asar file.
That’s all for the replacement of the launcher and packaging-related issues. Other configuration issues can generally be found on the official website and shouldn’t be too tricky~
2020-06-21 Update
First, I recommend a tool—
Electron DevTool Extension: https://www.electronjs.org/devtron
You can use this tool to view dependencies and Inter-Process Communication (IPC) messages.
npm install --save-dev devtronrequire('devtron').install() // Run in DevTool after installationThen, let’s briefly discuss how to fix the original full-screen functionality—
The essential aspect of implementing player full-screen operation is to address the problem of obtaining the window object in the rendering process. Initially, it was thought that IPC communication was required, but after researching, it was found that it was unnecessary.
Using require('electron').remote allows us to call methods of the main process object:
screenFull: function() { require('electron').remote.getCurrentWindow().setFullScreen(true)}One key point is that even in the rendering process, you can directly use require to obtain dependencies installed by npm.